Introduction
Anúncios
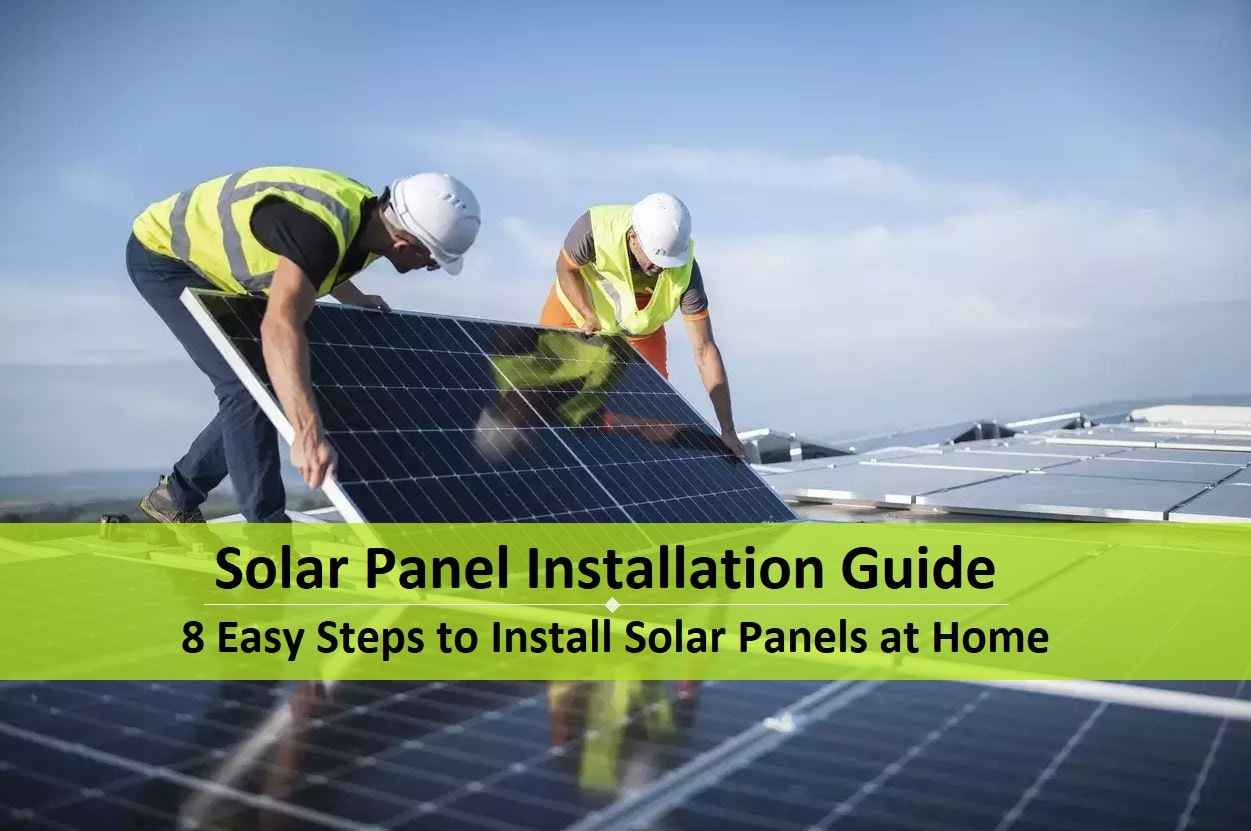
India is rapidly shifting toward clean energy. Rooftop solar panels are becoming popular among homeowners due to rising electricity costs and government incentives. This guide will walk you through the full process of installing solar panels in India in 2025.
Benefits of Rooftop Solar Panels
- Lower Electricity Bills: Reduce your monthly expenses.
- Government Subsidy: Receive up to ₹78,000 in subsidy.
- Clean Energy: Use pollution-free energy from the sun.
- Power Backup: Avoid power cuts and voltage issues.
- Low Maintenance: Solar systems are durable and easy to maintain.
Step 1: Check Eligibility
You are eligible if:
- You are an Indian citizen.
- You own the property with a clear roof.
- You have a legal electricity connection.
- You have not already availed another solar subsidy.
Step 2: Calculate Your Energy Needs
Check your past electricity bills to calculate average consumption:
| Monthly Usage | Suggested System Size |
|---|---|
| 0–150 units | 1–2 kW |
| 150–300 units | 2–3 kW |
| 300+ units | 3 kW or more |
Also Read Understanding India’s Solar Subsidy Programs in 2025
Anúncios
Step 3: Know the Subsidy Rates
Under the PM Surya Ghar Muft Bijli Yojana:
- ₹30,000 for 1 kW
- ₹60,000 for 2 kW
- ₹78,000 for 3 kW or above (maximum)
Group Housing Societies can get ₹18,000 per kW for shared systems (up to 500 kW).
Step 4: Register on the National Portal
Visit the National Rooftop Solar Portal.
- Select your state and electricity provider.
- Register using your consumer number, mobile, and email.
- Log in and apply for rooftop solar.
Step 5: Site Inspection by DISCOM
After application:
- DISCOM inspects your roof.
- Checks space, sunlight, and system feasibility.
- Approves the project for installation.
Step 6: Choose an Approved Vendor
- Choose from the list of approved solar vendors.
- Ask for a quote and warranty details.
- Sign an agreement before starting.
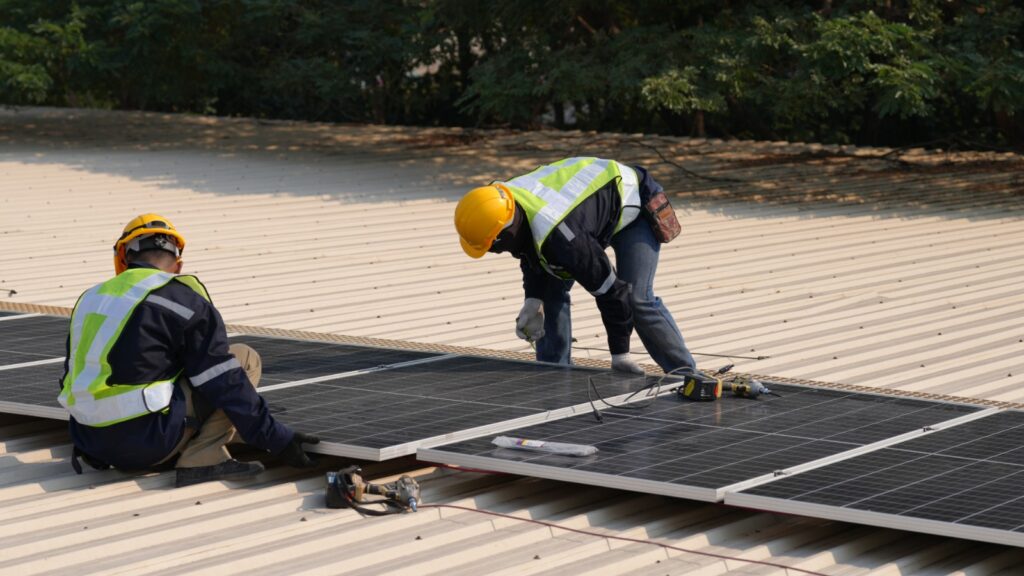
Step 7: Install the Solar System
- The vendor will mount the panels and set up wiring.
- Inverter and safety equipment are also installed.
- Installation usually takes 2–5 days.
Step 8: Apply for Net Metering
- Net meter tracks electricity import and export.
- DISCOM installs a bidirectional meter.
- Helps offset your electricity bill.
Step 9: Final Inspection and Commissioning
- DISCOM inspects the complete setup.
- Issues a commissioning certificate after approval.
Step 10: Receive Subsidy
- Submit your bank details on the national portal.
- Subsidy is transferred within 30 days to your account.
Maintenance Tips
- Clean Panels: Once every 2–3 months with water and cloth.
- Monitor Output: Use the mobile app or inverter screen.
- Check Shading: Keep trees trimmed to avoid shadow on panels.
- Annual Inspection: Call vendor for yearly check-up.
FAQs
Q1: Can renters install solar panels?
A: Only property owners can install rooftop solar under subsidy schemes.
Q2: Can I expand my solar system later?
A: Yes, systems can be upgraded based on space and demand.
Q3: Do solar panels work during monsoons?
A: Yes, though efficiency may reduce during cloudy days.
Q4: Is solar energy enough to run all appliances?
A: A well-sized system can handle most household needs, including fans, lights, fridges, and even ACs.
Q5: How long do solar panels last?
A: Typically 25–30 years, with a slight drop in efficiency after 20 years.
Final Thoughts
Installing rooftop solar panels is a smart and sustainable choice in 2025. It reduces your bills, helps the environment, and comes with strong government support. With this step-by-step guide, you can now make an informed decision and begin your solar journey confidently.
Author- Ayush


4 thoughts on “Step-by-Step Guide to Installing Rooftop Solar Panels in India (2025)”