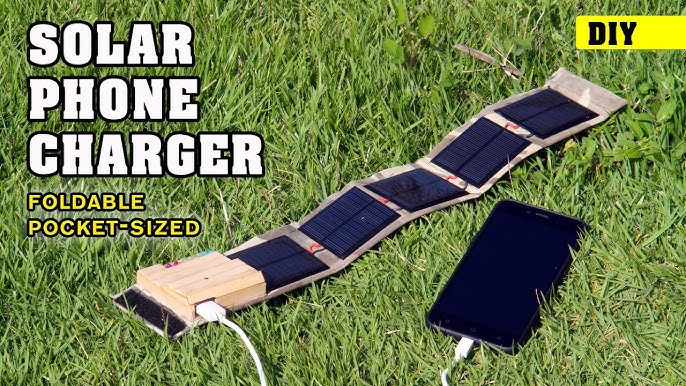
Introduction
Anúncios
India faces frequent power cuts in many areas, especially in rural and semi-urban regions. At the same time, more people are looking for ways to reduce their electricity bills and go green. A solar-powered phone charger is the perfect small-scale renewable energy project. You can make it over a weekend, using affordable parts available online or at your local electronics store.
This article explains how to build a DIY solar phone charger that is portable, eco-friendly, and suitable for Indian conditions.
Why Build a Solar Phone Charger?
Benefits for Indian Homes:
- Reliable backup during power cuts
- No electricity cost — runs on solar energy
- Portable and ideal for travel
- Great for learning basic electronics
- Reduces dependency on grid electricity
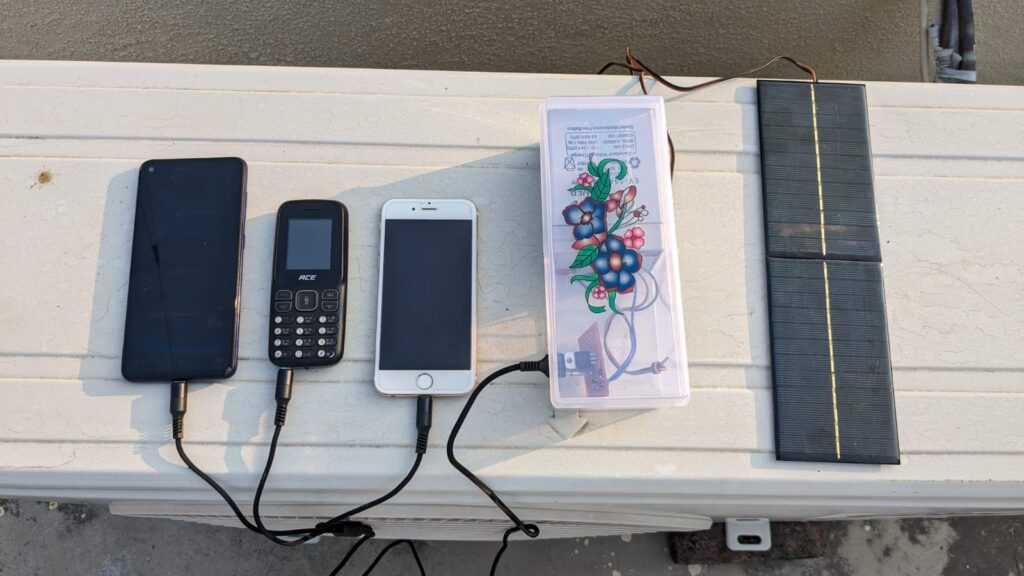
Essential Components and Tools
Before you start, gather these items:
- Solar Panel – 6V or 9V, 3 to 5 Watt
- Rechargeable Battery – 6V lead-acid or 18650 lithium-ion battery
- Diode (IN4001 or similar) – to prevent reverse current
- DC-DC Buck Converter – regulates voltage to safe 5V for USB charging
- USB Charging Port/Module – to plug in your phone
- Soldering Iron and Wire – for clean and permanent connections
- Multimeter – to check voltage levels
- Small Enclosure Box (optional) – to protect the setup
- Wires, Heat Shrink Tubing, Insulation Tape – for secure wiring
Anúncios
Also Read How to Calculate Your Home’s Solar Power Needs in India
Step-by-Step Guide to Build Your Solar Charger
1. Connect the Solar Panel to the Battery
- Solder the positive terminal of the solar panel to one side of the diode.
- Connect the other side of the diode to the positive terminal of the battery.
- Connect the negative terminal of the panel directly to the battery’s negative.
This step stores solar energy in the battery.
2. Add the Voltage Regulator
- Connect the battery output to the DC-DC buck converter.
- Set the output voltage to 5V using the small adjustment screw (if required).
- This will ensure your phone receives a safe charging voltage.
3. Attach the USB Charging Module
- Solder the output wires from the buck converter to the USB module.
- Check the polarity (positive and negative terminals).
- Use heat shrink tubing or insulation tape for safety.
4. Test the Setup
- Put the panel in full sunlight.
- Use a multimeter to measure output voltage at the USB port — it should be close to 5V.
- Plug in your phone to check if it starts charging.
Tips for Best Performance
- Use a solar panel with at least 5W capacity for reliable charging.
- Place the panel in full sunlight — typically between 10 AM and 4 PM in India.
- Use lithium-ion batteries for longer life and faster charging.
- Keep your system protected in an enclosure if you plan to use it outdoors.
- Charge your phone during peak sunlight hours for best results.
Cost Breakdown (Estimated in INR)
| Component | Approximate Cost |
|---|---|
| Solar Panel (6V/5W) | ₹300 – ₹500 |
| Lithium-ion Battery | ₹250 – ₹400 |
| Buck Converter | ₹100 – ₹200 |
| USB Module | ₹50 – ₹100 |
| Diode and Wires | ₹50 – ₹100 |
| Soldering Essentials | ₹300+ (one-time) |
Total Estimated Cost: ₹800 – ₹1200
Safety Precautions
- Never expose batteries to excessive heat.
- Use insulated wires and check all connections before testing.
- Avoid water or moisture contact with the circuit.
- Charge only small devices like phones, not tablets or power banks.
Applications of a Solar Phone Charger in India
- Rural households with irregular power supply
- Trekking, camping, or emergency travel
- Backup charging for school children’s phones during exams
- Educational science projects in schools and colleges
FAQs – DIY Solar-Powered Phone Charger
Q1. Can this charger power a tablet or laptop?
No. This DIY charger is suitable for small devices like smartphones, Bluetooth speakers, or LED lights.
Anúncios
Q2. What happens on cloudy days?
Charging speed may slow down. It’s best to use the charger on sunny days for full efficiency.
Q3. Can I use any type of battery?
It’s best to use lithium-ion or sealed lead-acid batteries with proper protection circuitry.
Q4. Is soldering necessary?
Yes, soldering ensures secure and long-lasting electrical connections. You may use connectors if you’re not comfortable with soldering.
Q5. Can I charge multiple phones at once?
You can, but you’ll need a more powerful panel and battery setup. For this simple version, it’s best to charge one device at a time.
Final Thoughts
Making your own solar-powered phone charger is not only a fun weekend project but also a smart step toward energy independence. It’s a small but powerful way to embrace clean solar energy, especially in India where sunlight is abundant. Whether you’re a student, a DIY enthusiast, or someone living in an area with frequent power cuts, this project is worth your time.
Author- Ayush