A solar feasibility study is the first and most important step before installing a solar energy system in India.
It helps homeowners, businesses, and project developers understand if a solar power project is technically possible, financially viable, and policy-compliant.
Skipping this step often leads to wasted money, delays, or underperforming systems.
Anúncios
In India, where solar energy is growing rapidly due to government schemes like PM Surya Ghar Yojana and MNRE Rooftop Solar Programme, feasibility studies are not just optional — they are often mandatory for subsidy approvals, DISCOM permissions, and bank financing.
This guide explains every step of a solar feasibility study in India, with simple language, shorter sentences, and relevant insights for the Indian audience.
Why Solar Feasibility Study Matters in India
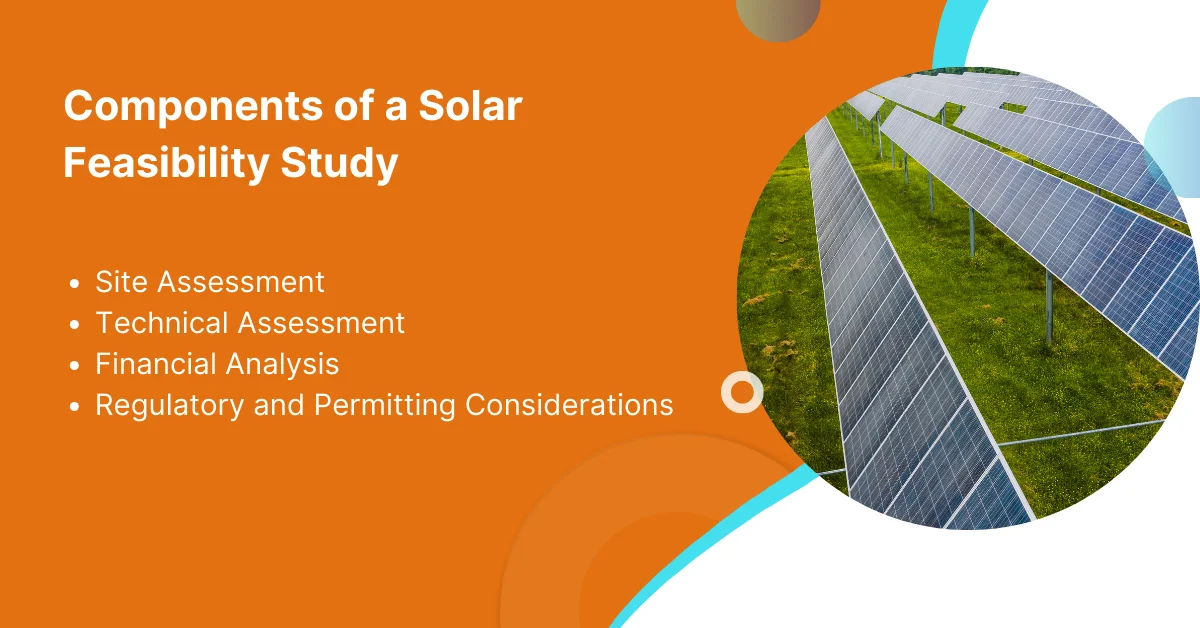
A solar feasibility report answers four key questions:
Anúncios
- Is there enough sunlight at the site?
- Is the rooftop or land technically suitable?
- Will the solar project save money compared to current electricity bills?
- Can the system be connected to the grid under current DISCOM rules?
For Indian solar projects, additional checks like subsidy eligibility, net-metering approval, and state-specific policies are critical.
Without these checks, a solar system may not perform as expected, and financial payback may take much longer.
Who Should Conduct a Solar Feasibility Study?
- Homeowners installing rooftop solar under subsidy schemes.
- Commercial and Industrial (C&I) units looking to cut power bills with captive solar plants.
- Institutions like schools, hospitals, and government buildings planning rooftop solar.
- Developers and investors setting up ground-mounted or utility-scale solar projects.
Even small projects benefit from a quick feasibility check, while larger systems require detailed technical and financial modeling.
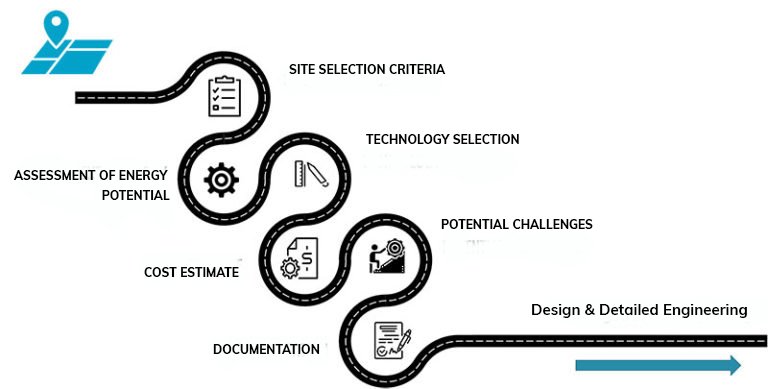
Key Steps in a Solar Feasibility Study in India

1. Define Project Goals
- Do you want to reduce electricity bills, get backup power, or sell electricity?
- What percentage of energy do you want to offset with solar?
- Do you plan to add batteries for energy storage?
- What is your maximum budget?
Clear goals help design the right system size and configuration.
Also Read Small Solar Wiring Made Simple: Step-by-Step Guide to Connect a Solar Panel to a Battery in India
2. Collect Energy and Site Data
- Gather 12 months of electricity bills to calculate average consumption.
- Record peak load and seasonal usage patterns.
- Take roof measurements, photos, and note shading obstacles like trees, water tanks, or tall buildings.
- For large projects, check transformer capacity and nearby grid connections.
3. Assess Solar Resource and Potential
- India has strong solar energy potential, with 4–6 peak sun hours per day across most regions.
- Use solar maps or data from weather stations for location-specific irradiation.
- Always use slightly conservative figures to avoid overestimating power generation.
4. Conduct Shading and Layout Analysis
- Shadows reduce solar power output significantly.
- Do a sun-path analysis to check shading from 9 AM to 3 PM.
- Use design software or simple mobile tools to map shading.
- For flat roofs, consider optimal tilt and spacing between panel rows.
- For small rooftops, high-efficiency panels maximize power output.
5. Structural and Civil Assessment
- Ensure the roof is strong enough to carry solar panels and mounting structures.
- Check for waterproofing issues. Fix them before installation.
- Consider future renovations or roof replacements.
6. Electrical and Grid Connectivity Check
- Confirm the sanctioned load from your electricity bills.
- Verify DISCOM net-metering rules in your state. Some states allow 100% net metering; others have limits.
- Check whether your current transformer and distribution system can handle additional solar power.
- For large plants, DISCOM approval may involve detailed technical studies.
7. System Sizing and Technical Design
- Use the formula: System Size (kW) = Daily Energy Need ÷ (Peak Sun Hours × Performance Ratio)
- A performance ratio of 0.75–0.85 is realistic for rooftop solar in India.
- Decide between string inverters, microinverters, or hybrid inverters.
- If batteries are planned, calculate storage size based on required backup hours.
- Choose BIS-certified panels and inverters (mandatory for subsidy eligibility).
8. Financial Modeling and Payback Analysis
- Calculate capital cost (panels, inverters, installation, civil works).
- Deduct subsidy if applicable.
- Estimate yearly energy generation and savings from reduced electricity bills.
- Include operation & maintenance (O&M) costs.
- Compute:
- Simple payback period
- Net Present Value (NPV)
- Internal Rate of Return (IRR)
- Levelized Cost of Energy (LCOE)
In most Indian states, rooftop solar has a payback of 4–7 years for residential and 3–5 years for C&I projects.
9. Policy, Subsidy, and Approval Checks
- The PM Surya Ghar Yojana offers subsidies for residential rooftop systems.
- MNRE guidelines require registration on the National Rooftop Portal.
- States have different net-metering and grid export rules.
- Check Approved List of Models and Manufacturers (ALMM) before finalizing equipment.
10. Risk Assessment and Mitigation
- Resource risk: lower solar radiation than expected → Use conservative data.
- Technical risk: roof damage or poor workmanship → Hire experienced installers.
- Regulatory risk: policy or subsidy changes → Always check the latest notifications.
- Financial risk: tariff changes → Run sensitivity analysis in financial models.
Checklist for Solar Feasibility Study in India
✔ 12 months electricity bills collected
✔ Roof survey and site photos taken
✔ Solar irradiation and PSH data gathered
✔ Shading analysis completed
✔ Roof load checked by engineer
✔ Net-metering rules verified with DISCOM
✔ Subsidy eligibility confirmed
✔ System size and inverter type selected
✔ Payback and ROI calculated
✔ Final feasibility report prepared
Case Example: Rooftop Solar for a Small Factory
A textile factory in Gujarat had monthly bills of ₹4.5 lakh.
A feasibility study suggested a 250 kW rooftop solar system with a performance ratio of 0.78.
The payback period was just under 4 years after subsidy.
Because the DISCOM transformer had spare capacity, no major grid upgrade was needed.
The project was approved quickly and is now saving over ₹55 lakh annually.
FAQs on Solar Feasibility Study in India
Q1. Is a feasibility study compulsory for rooftop solar in India?
For small residential systems, a detailed study may not be compulsory, but it is strongly recommended. For large C&I and ground-mounted projects, feasibility studies are mandatory for approvals and financing.
Q2. How much sunlight does India get for solar projects?
Most Indian cities get 4–6 peak sun hours per day, which is excellent for solar energy.
Q3. How does the PM Surya Ghar Yojana affect feasibility?
It reduces upfront cost by providing subsidies for rooftop solar systems, improving financial viability.
Q4. How long does it take to recover investment in rooftop solar?
Typically, 4–7 years for homes and 3–5 years for businesses, depending on state policy and electricity tariffs.
Q5. Can batteries be included in feasibility studies?
Yes. Batteries are often included for backup or peak-shaving, but they increase upfront cost and extend payback period.
Final Words
A solar feasibility study in India ensures that your rooftop solar or ground-mounted project is technically possible, financially sound, and compliant with regulations.
It protects you from poor planning and helps in faster approvals, smoother installation, and better long-term savings.
With India’s strong solar energy potential, supportive policies, and falling solar panel prices, now is the right time to plan solar installations — but only after a proper feasibility study.