Introduction
Anúncios
Solar water heaters are a smart choice for Indian homes. They use sunlight to heat water, reducing electricity bills and carbon footprint. With government support and improved technology, installing a solar water heater is easier and more efficient than ever before.
Benefits of Solar Water Heaters
- Cost Savings: Reduces electricity or gas bills.
- Eco-Friendly: Uses renewable solar energy.
- Low Maintenance: Minimal upkeep required.
- Long Lifespan: 15–20 years with proper care.
- Government Subsidies: Financial support available through various schemes.
Types of Solar Water Heaters
1. Flat Plate Collectors (FPC)
These have an insulated box with a glass cover and black absorber plate. They are ideal for areas with high solar radiation and are covered under IS 12933:2003 standards.
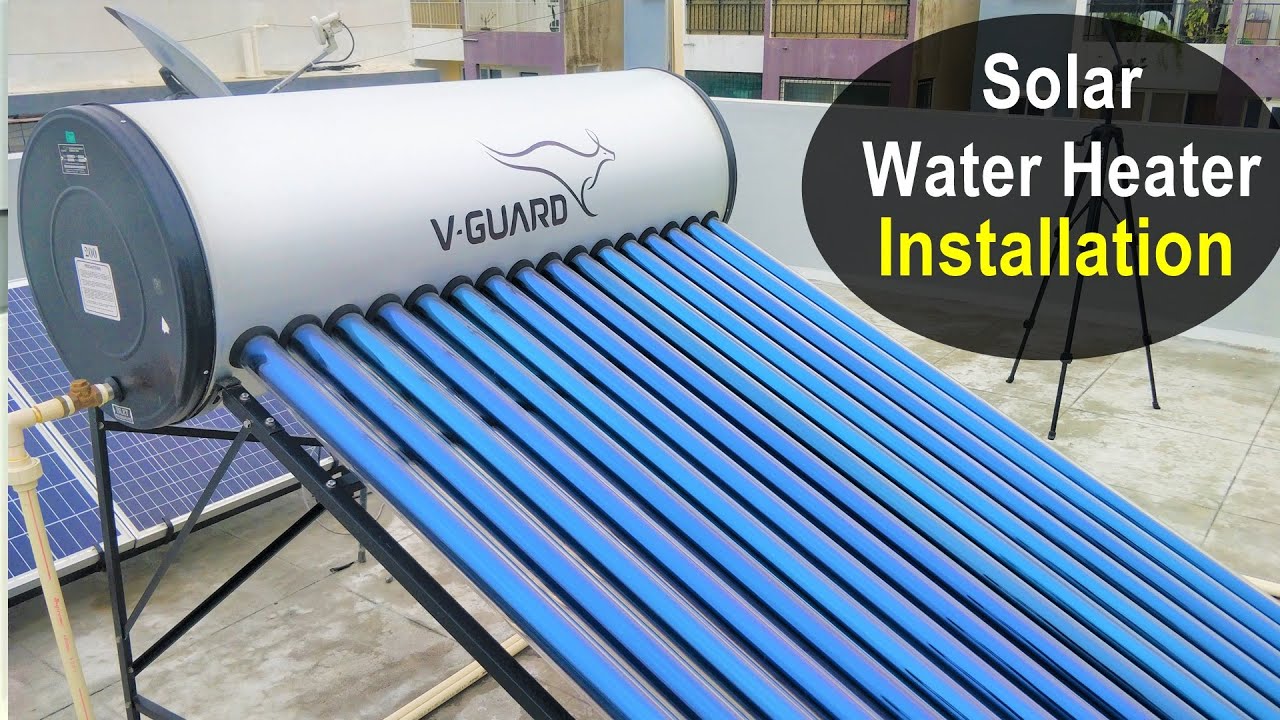
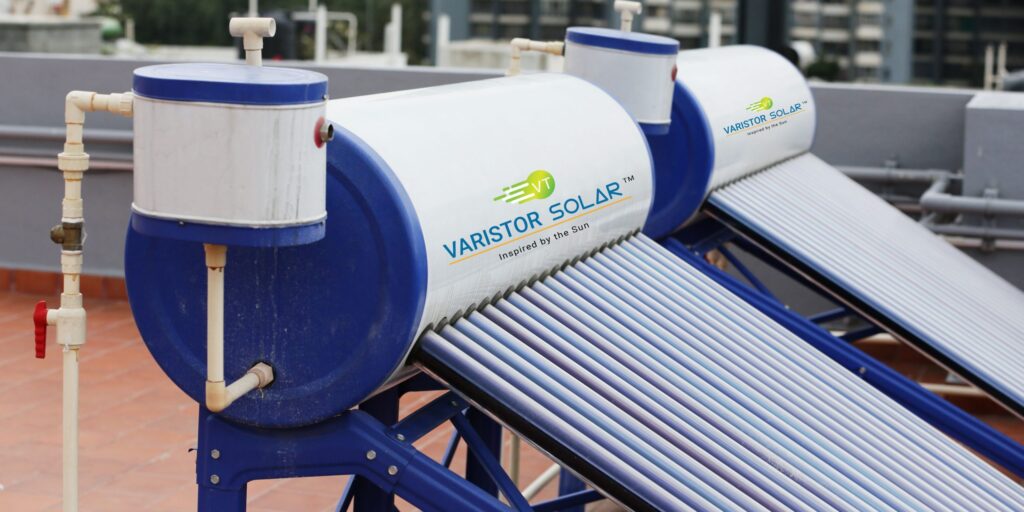
2. Evacuated Tube Collectors (ETC)
These are made of double-layered glass tubes with a vacuum in between. They work better in colder climates or regions with diffused sunlight.
Anúncios
Step-by-Step Installation Guide
Step 1: Assess Your Hot Water Needs
Estimate your household’s hot water usage. A typical Indian family of 4–6 uses 100–300 liters daily. Choose the system size accordingly.
Step 2: Choose the Right Type
Select between FPC and ETC based on local climate, water quality, and available space.
Step 3: Site Selection and Preparation
Pick a south-facing rooftop or open area with plenty of sunlight. The surface should be strong enough to hold the system. Set the collector at an angle equal to the location’s latitude.
Step 4: Install the Solar Collector
Mount the collector securely, ensuring it’s properly aligned and sealed to avoid leaks.
Step 5: Set Up the Storage Tank
Place the insulated tank above the collector. Connect inlet and outlet pipes. Install valves and temperature sensors.
Step 6: Plumbing Connection
Connect insulated pipes between collector and tank. Make leak-proof joints and install non-return valves.
Step 7: Add Backup Heating (Optional)
You may connect an electric or gas heater as a backup. Use a thermostat for automatic control.
Step 8: Insulation
Insulate pipes and tanks to prevent heat loss and protect from weather exposure.
Step 9: Fill and Test the System
Fill the tank with water and check for leaks. Observe the system during sunny hours to ensure everything works properly.
Maintenance Tips
- Clean collectors every few months to remove dust.
- Check pipe connections regularly.
- Monitor water flow and temperature.
- Call a professional annually for servicing.
Government Subsidies (2025)
The MNRE offers financial support for solar water heaters:
- General Category States: Up to 30% subsidy
- Special Category States: Up to 60% subsidy
To get the subsidy:
- Buy from MNRE-approved vendors
- Ensure the system meets BIS/BEE standards
- Submit the purchase invoice and installation photos with the application
Frequently Asked Questions (FAQs)
Q1: Can I install it in a flat or apartment?
Yes, if there’s shared rooftop access and permission from your housing society.
Q2: How long does installation take?
Typically 1 to 2 days depending on the layout.
Q3: Does it work in monsoons or winter?
Yes, though efficiency reduces. Backup systems help during cloudy days.
Q4: Can I get hot water at night?
Yes. The insulated tank stores hot water for several hours.
Q5: What is the system’s life?
15 to 20 years with proper care and cleaning.
Conclusion
Solar water heaters are a wise investment for Indian homes in 2025. They lower energy bills, last for years, and support green living. With this step-by-step guide, you’re now equipped to make the switch and enjoy clean, renewable hot water year-round.
Author- Ayush